@ManmohanBishnoi: да, именно об этом конкретно говорится в этом ответе. Тем не менее, настройка пучка является лучшим методом в целом.
роект - выровнять аэрофотоснимки, чтобы сделать из них мозаику. Мой план состоит в том, чтобы начать с двух фотографий, совместить вторую с первой и создать «исходную мозаику» из двух выровненных изображений. Как только это будет сделано, я выровняю третье фото с исходной мозаикой, а затем выровняю четвертое фото с результатом этого и т. Д., Таким образом, постепенно создавая карту.
У меня есть два метода для этого, но более точный, который используетcalcOpticalFlowPyrLK(), работает только для фазы с двумя изображениями, потому что два входных изображения должны быть одинакового размера. Из-за этого я попробовал новое решение, но оно менее точное, и ошибка, вносимая на каждом этапе, накапливается, что в итоге приводит к бессмысленному результату.
Мой вопрос двоякий, но если вы знаете ответ на один вопрос, вам не нужно отвечать на оба вопроса, если вы не хотите. Во-первых, есть ли способ использовать что-то похожее наcalcOpticalFlowPyrLK() но с двумя изображениями разных размеров (включая возможные обходные пути)? И, во-вторых, есть ли способ изменить решение детектор / дескриптор, чтобы сделать его более точным?
Вот точная версия, которая работает только для двух изображений:
# load images
base = cv2.imread("images/1.jpg")
curr = cv2.imread("images/2.jpg")

# convert to grayscale
base_gray = cv2.cvtColor(base, cv2.COLOR_BGR2GRAY)

# find the coordinates of good features to track  in base
base_features = cv2.goodFeaturesToTrack(base_gray, 3000, .01, 10)

# find corresponding features in current photo
curr_features = np.array([])
curr_features, pyr_stati, _ = cv2.calcOpticalFlowPyrLK(base, curr, base_features, curr_features, flags=1)

# only add features for which a match was found to the pruned arrays
base_features_pruned = []
curr_features_pruned = []
for index, status in enumerate(pyr_stati):
    if status == 1:
        base_features_pruned.append(base_features[index])
        curr_features_pruned.append(curr_features[index])

# convert lists to numpy arrays so they can be passed to opencv function
bf_final = np.asarray(base_features_pruned)
cf_final = np.asarray(curr_features_pruned)

# find perspective transformation using the arrays of corresponding points
transformation, hom_stati = cv2.findHomography(cf_final, bf_final, method=cv2.RANSAC, ransacReprojThreshold=1)

# transform the images and overlay them to see if they align properly
# not what I do in the actual program, just for use in the example code
# so that you can see how they align, if you decide to run it
height, width = curr.shape[:2]
mod_photo = cv2.warpPerspective(curr, transformation, (width, height))
new_image = cv2.addWeighted(mod_photo, .5, base, .5, 1)
Вот неточный, который работает для нескольких изображений (пока ошибка не станет слишком большой):
# load images
base = cv2.imread("images/1.jpg")
curr = cv2.imread("images/2.jpg")


# convert to grayscale
base_gray = cv2.cvtColor(self.base, cv2.COLOR_BGR2GRAY)

# DIFFERENCES START
curr_gray = cv2.cvtColor(self.curr_photo, cv2.COLOR_BGR2GRAY)

# create detector, get keypoints and descriptors
detector = cv2.ORB_create()
base_keys, base_desc = detector.detectAndCompute(base_gray, None)
curr_keys, curr_desc = detector.detectAndCompute(curr_gray, None)

matcher = cv2.DescriptorMatcher_create("BruteForce-Hamming")

max_dist = 0.0
min_dist = 100.0

for match in matches:
     dist = match.distance
     min_dist = dist if dist < min_dist else min_dist
     max_dist = dist if dist > max_dist else max_dist

good_matches = [match for match in matches if match.distance <= 3 * min_dist ]

base_matches = []
curr_matches = []
for match in good_matches:
    base_matches.append(base_keys[match.queryIdx].pt)
    curr_matches.append(curr_keys[match.trainIdx].pt)

bf_final = np.asarray(base_matches)
cf_final = np.asarray(curr_matches)

# SAME AS BEFORE

# find perspective transformation using the arrays of corresponding points
transformation, hom_stati = cv2.findHomography(cf_final, bf_final, method=cv2.RANSAC, ransacReprojThreshold=1)

# transform the images and overlay them to see if they align properly
# not what I do in the actual program, just for use in the example code
# so that you can see how they align, if you decide to run it
height, width = curr.shape[:2]
mod_photo = cv2.warpPerspective(curr, transformation, (width, height))
new_image = cv2.addWeighted(mod_photo, .5, base, .5, 1)
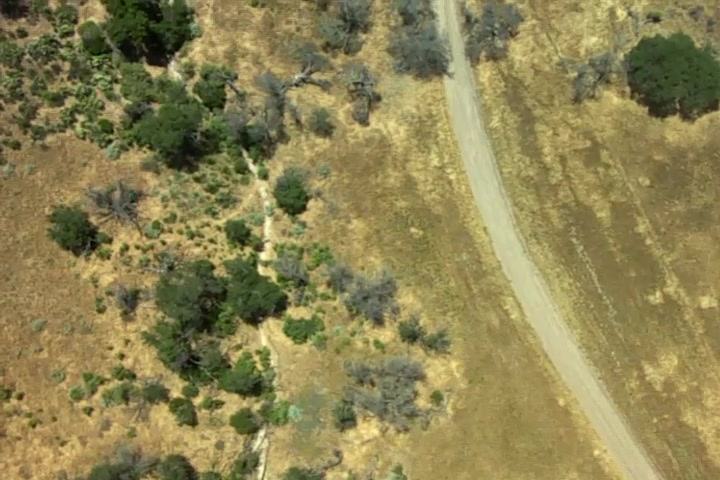
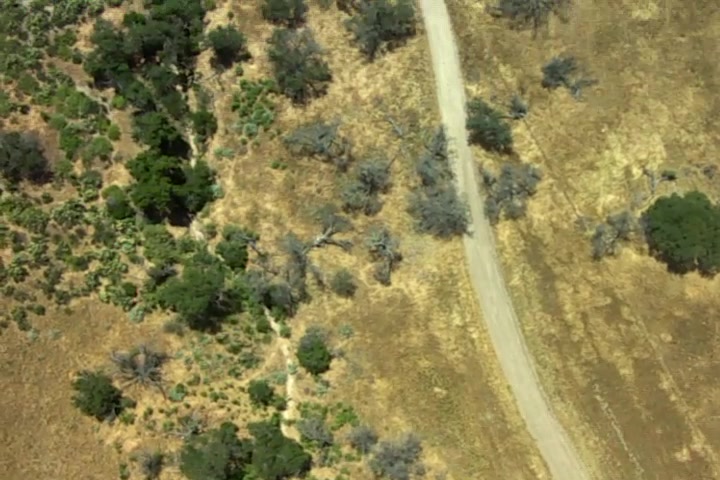
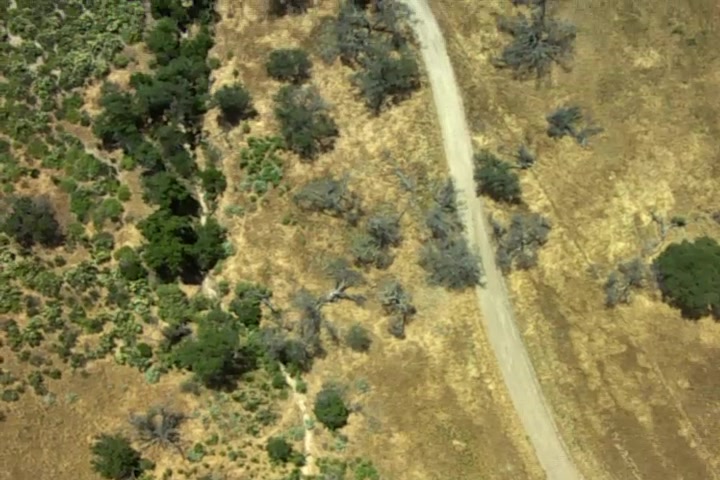
Наконец, вот несколько изображений, которые я использую: